

I've been a photographer and educator for over 6 years now and have taught thousands of photographers all over the world to find their voice, gain confidence in their work and discover a truly unique photography style all their own.
You already have the tools you need to create breathtaking work. I will guide you the rest of the way to make sure you connect your heart to your eye and produce the work you feel inside.
I'm Twyla Jones.

")
Complete Lightroom editing and workflow
Embracing the Storm
Enroll now!
")
Emotional Storytelling
The Podcast
Listen Now

How to Install your Lightroom Brushes!
Filed in: Education
I am absolutely addicted to my Lightroom brushes and filters! I love added just a little extra something to my images and in lightroom I can do that AND SYNC those changes to a series of images so that my edits look consistent!
I’m gifting you two of my very favorite and most used brushes! One for bringing in dramatic skies and another for a pop of golden, glowy sunshine. If you need help installing your brushes, read on!

Step 1
Ok, so to get started, I’m going to need you to download those brushes HERE
Step 2
Next, Go to lightroom and open up Preferences
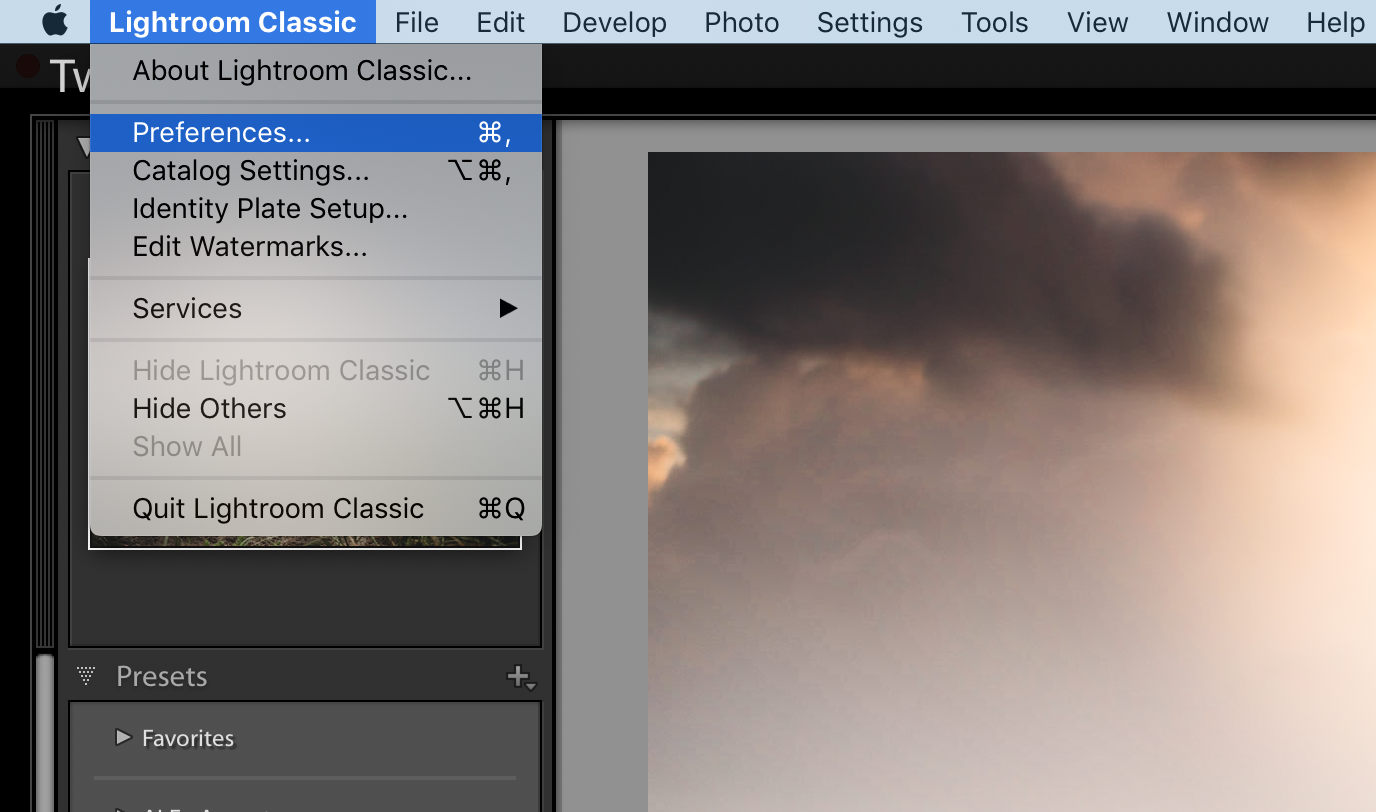
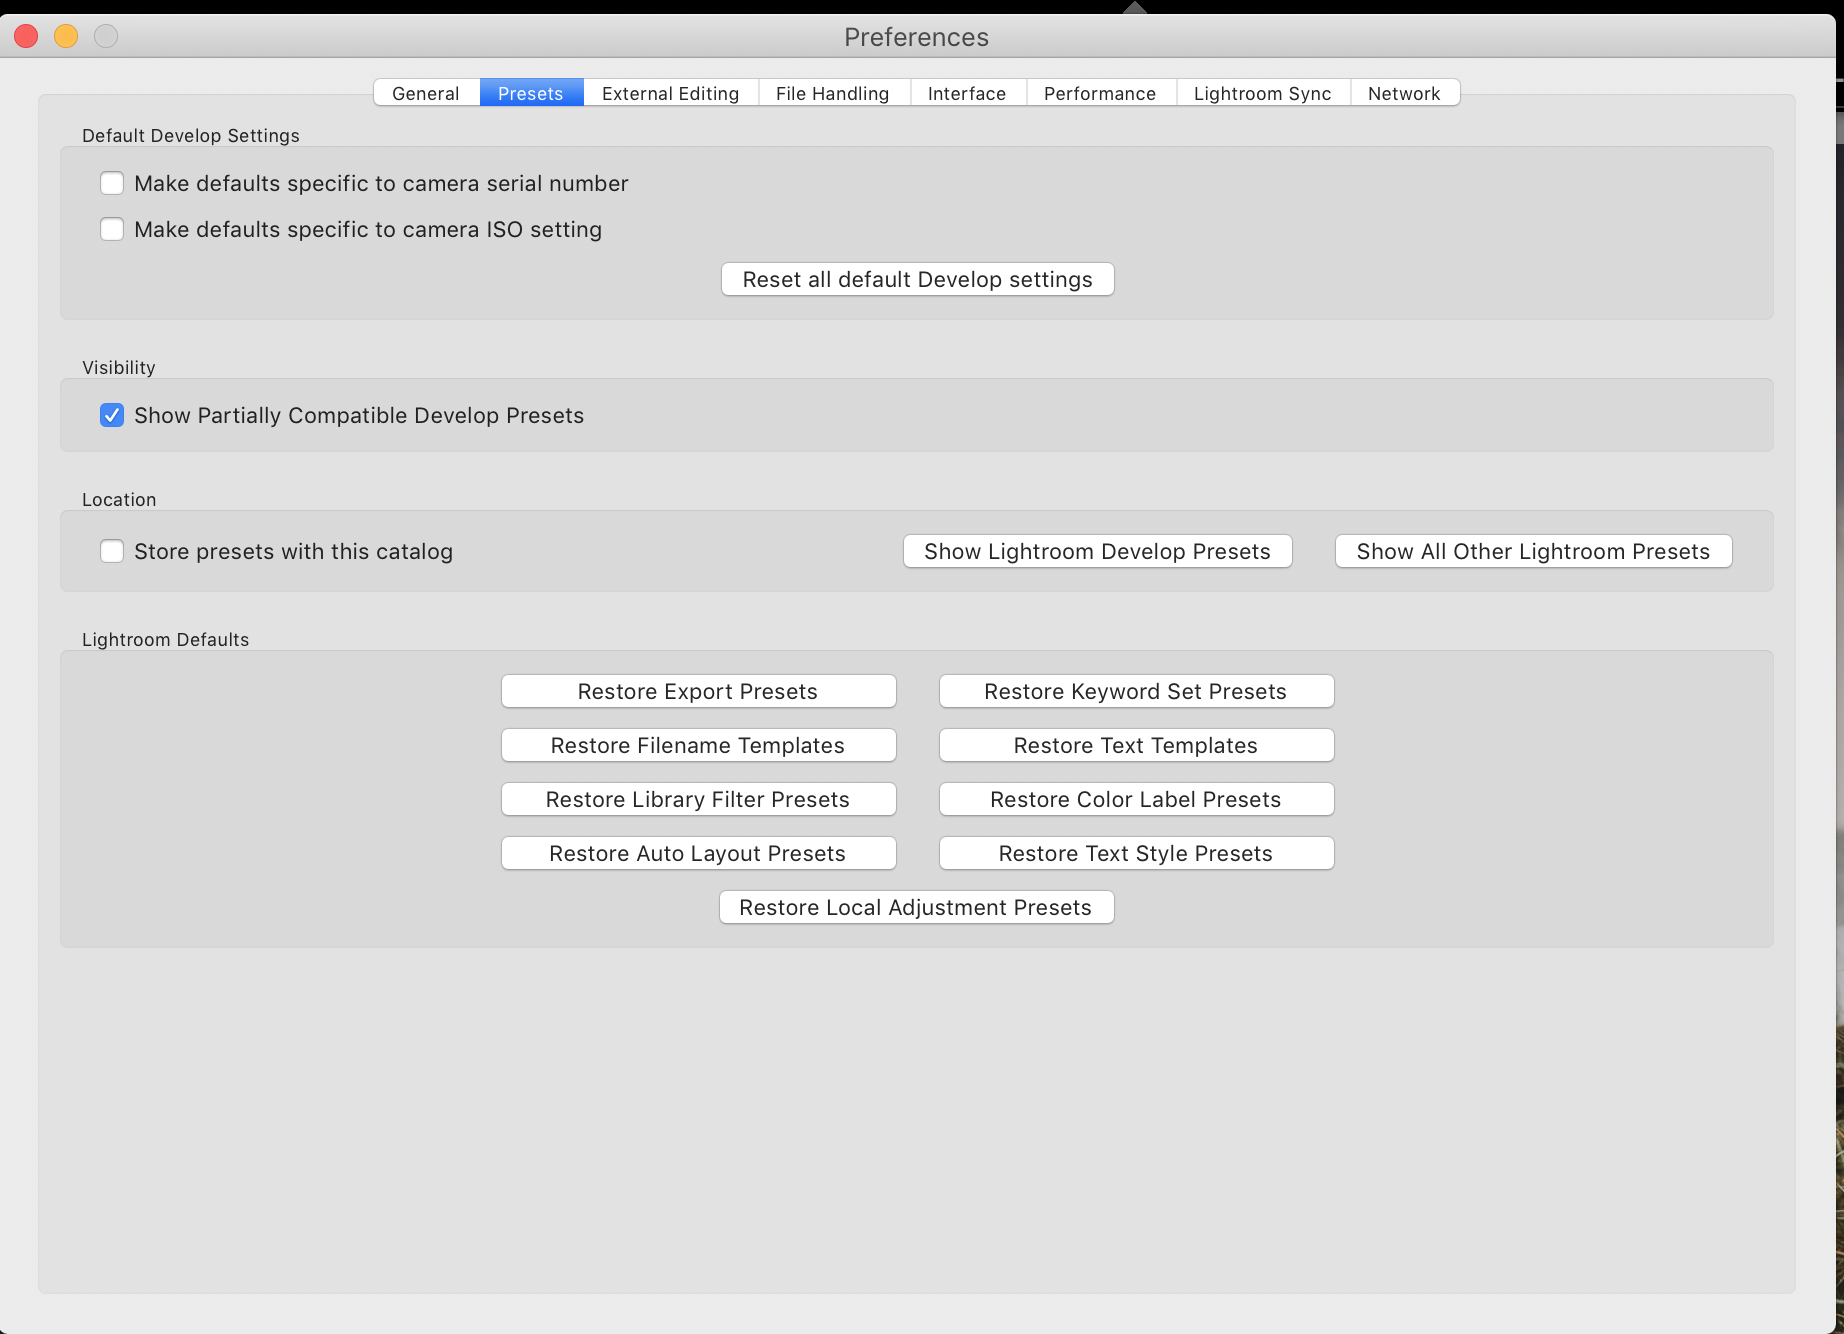
Step 3
Go to your ‘Presets’ tab and click on ‘Show All Other Lightroom Presets’
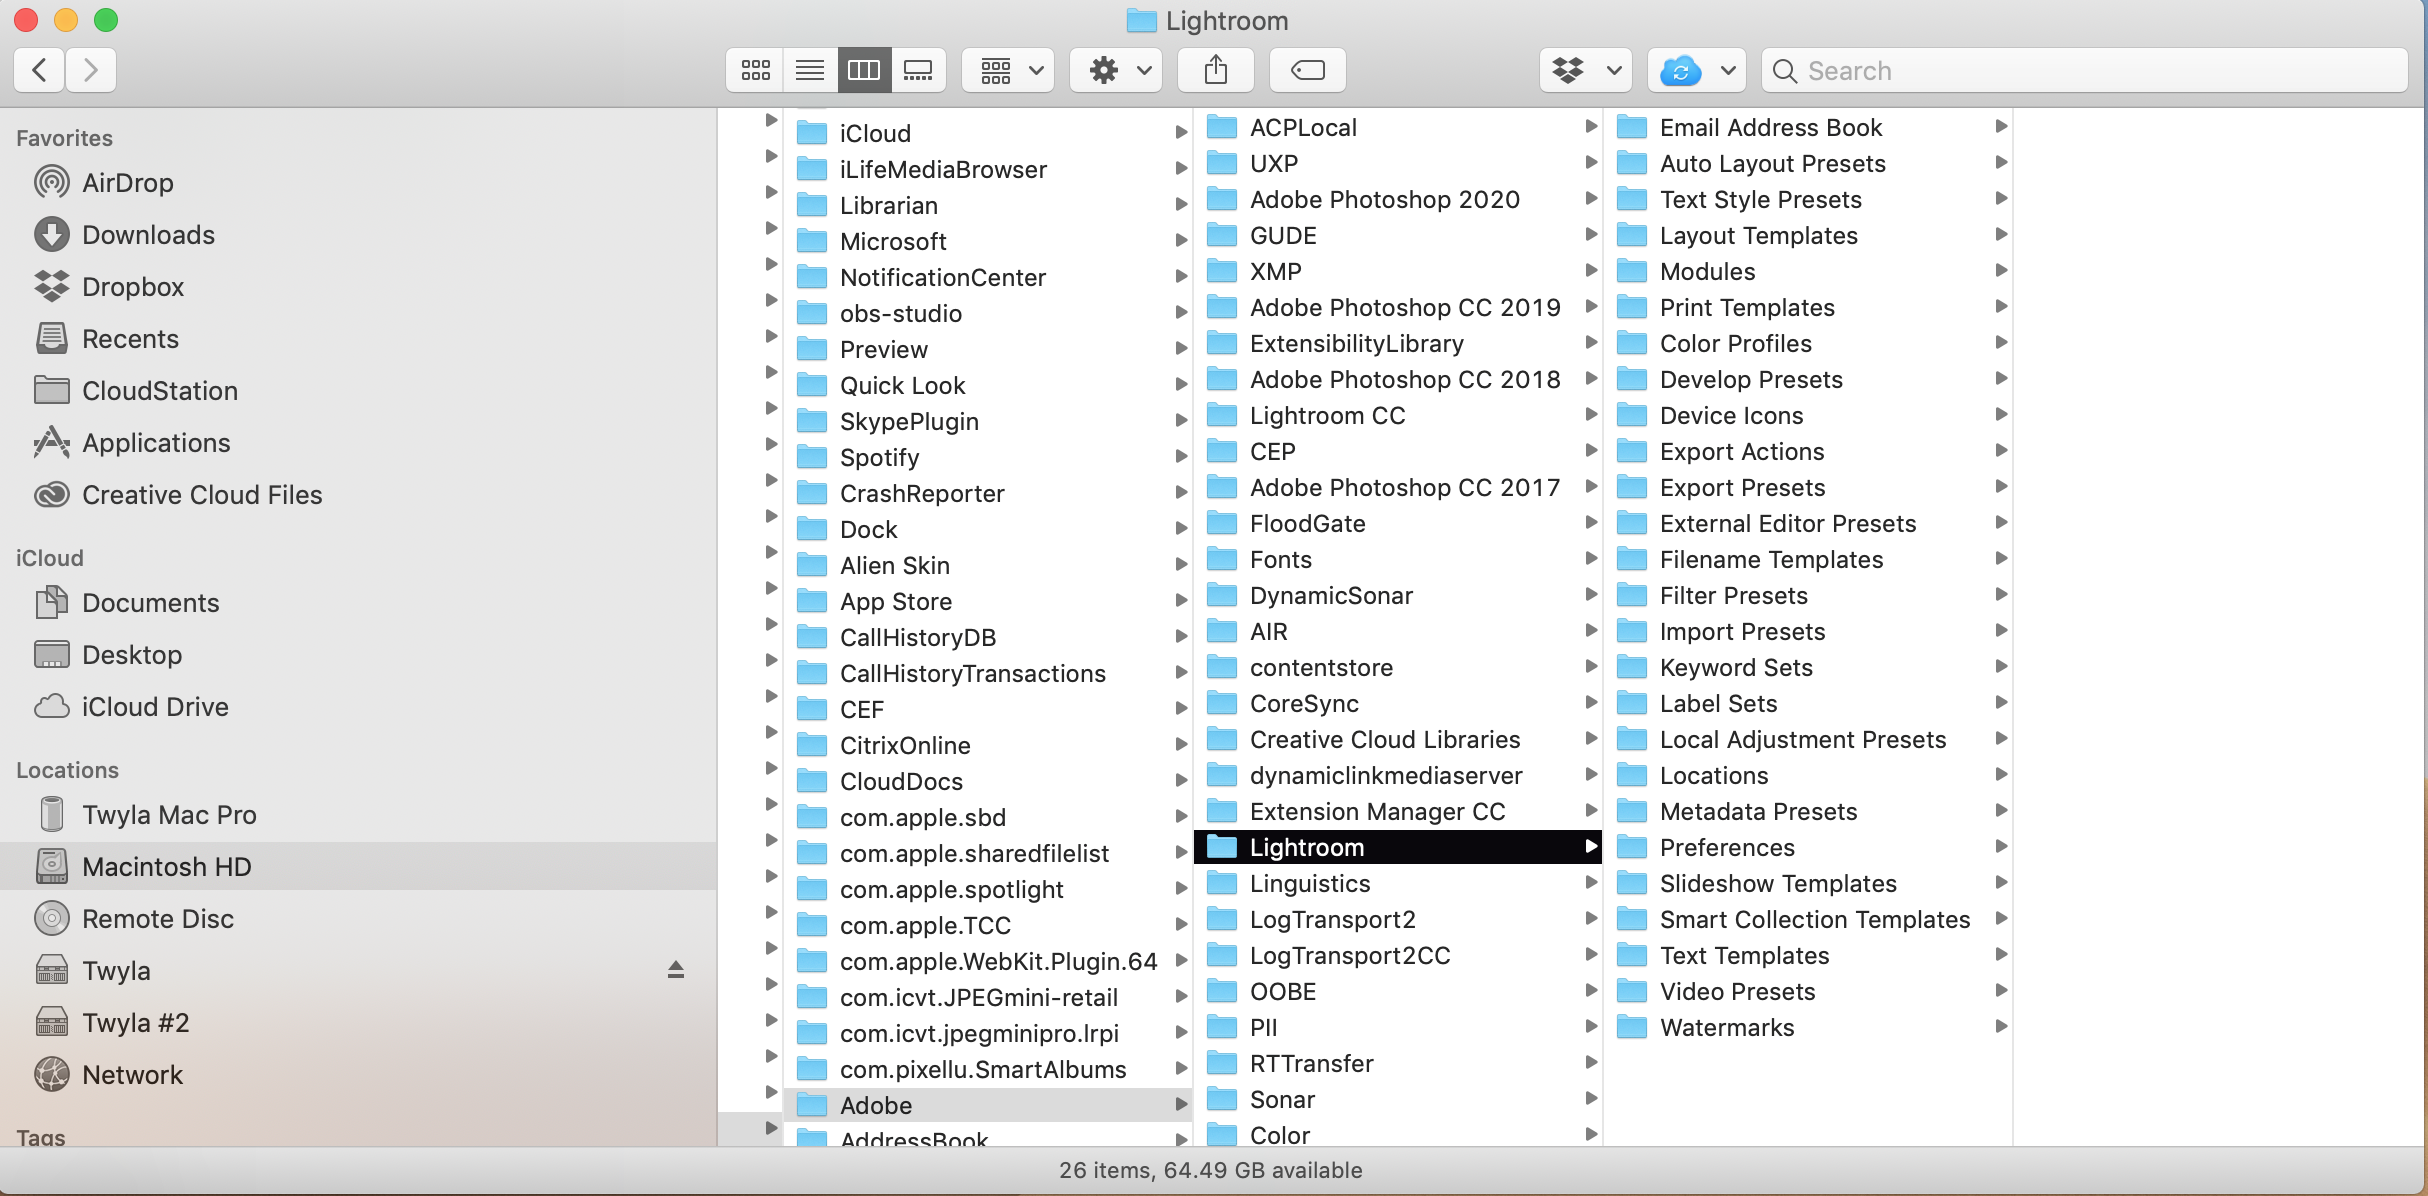
Step 4
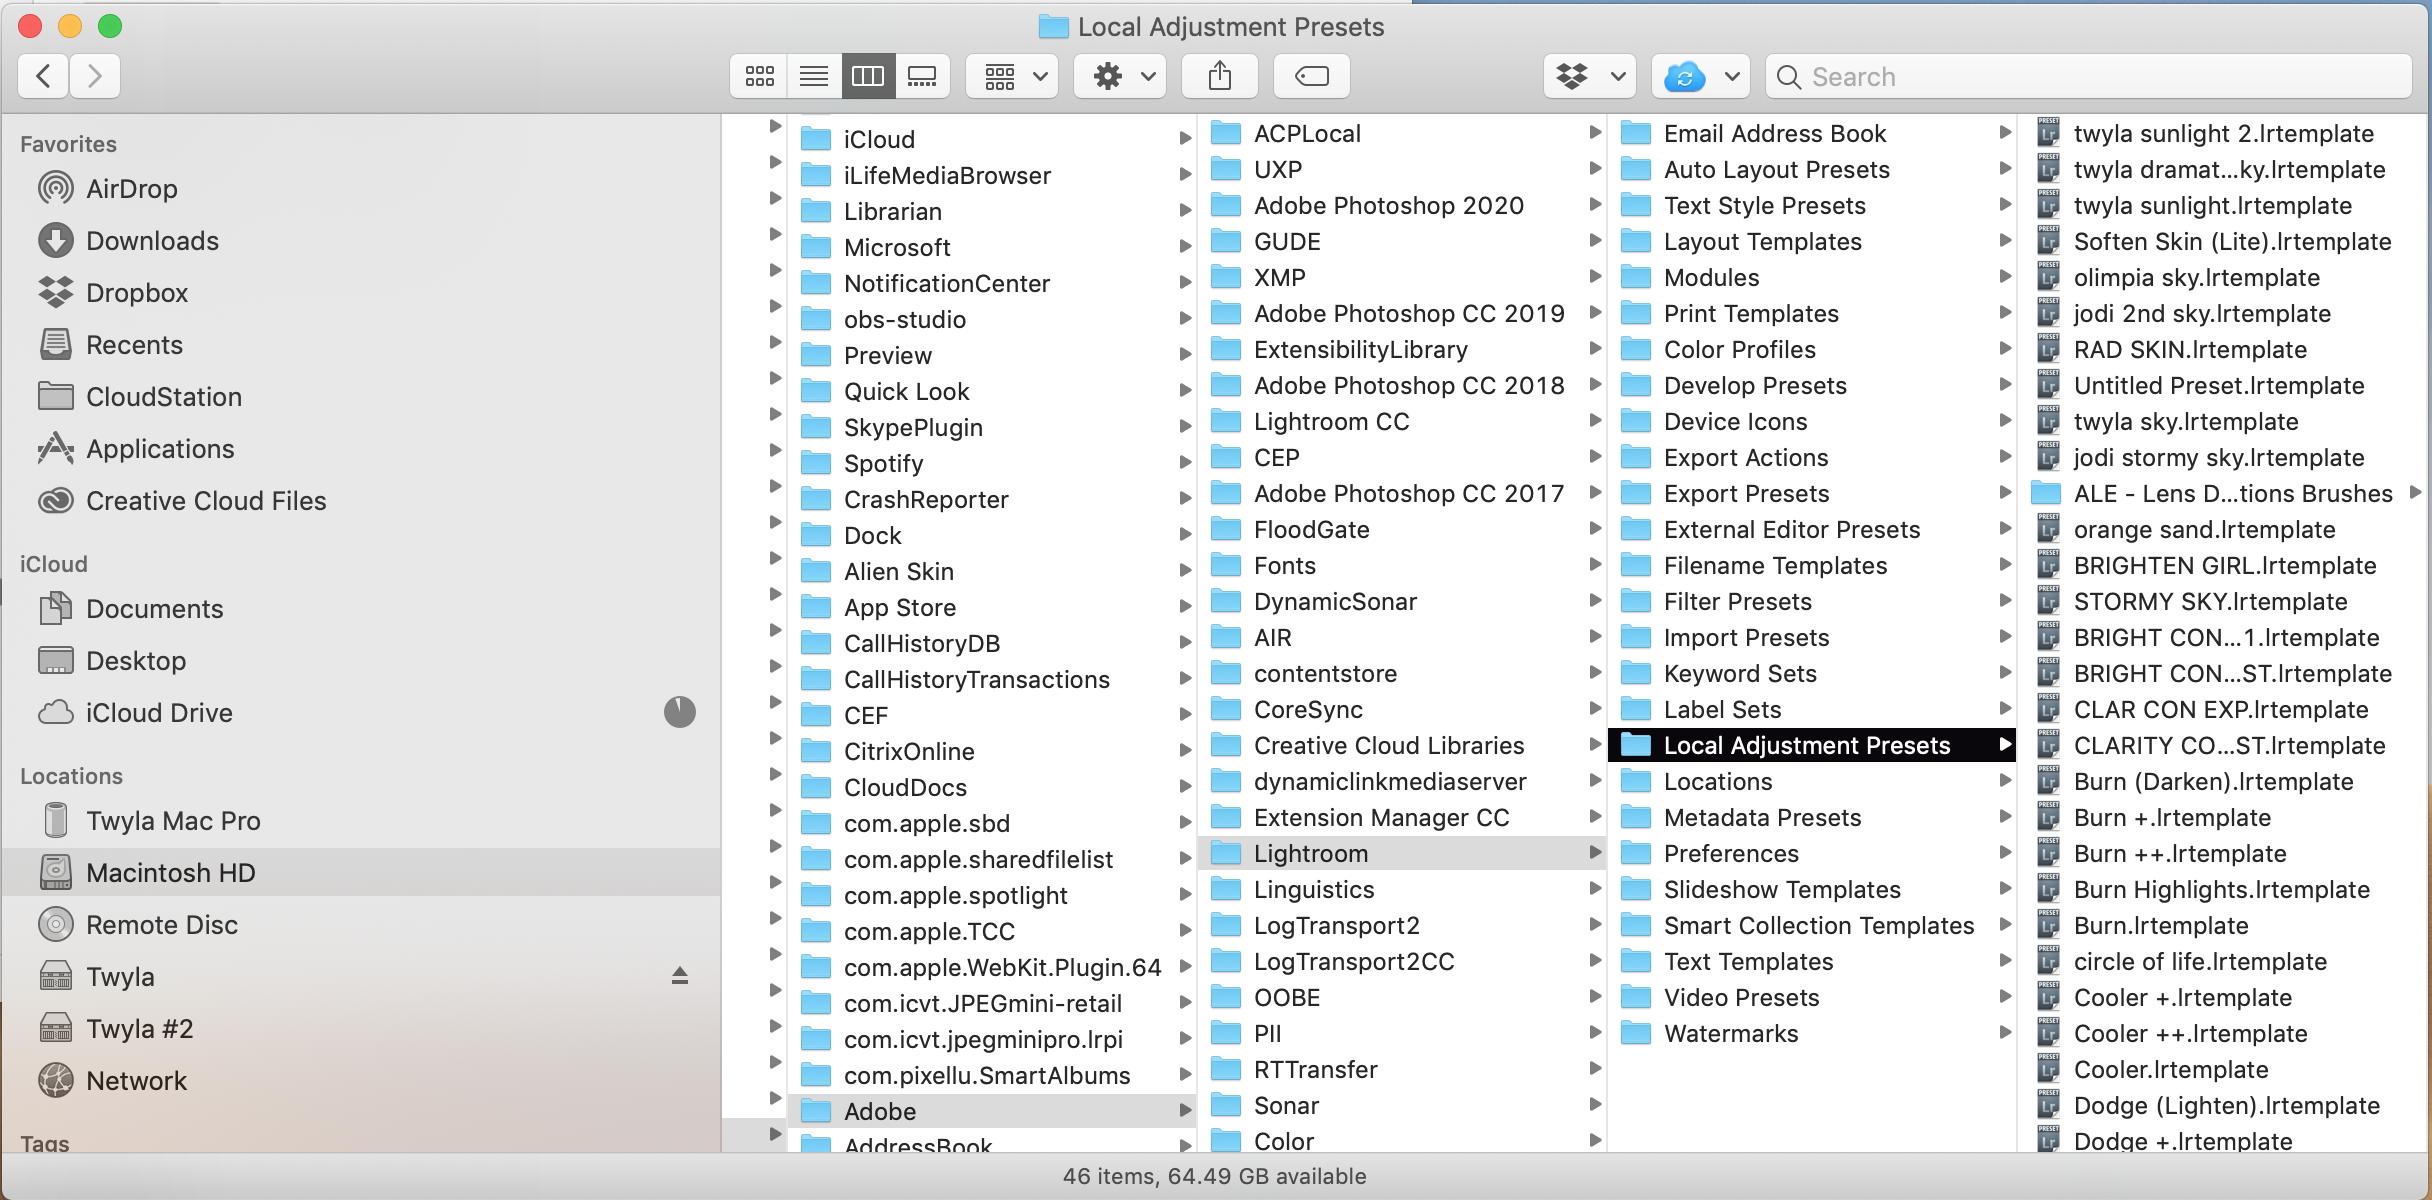
You will arrive at the ‘Lightroom’ folder. Nested within that folder, navigate to the folder titled ‘Local Adjustment Presets’. This is where all of your brush presets live!
Step 5
Unzip the brushes I just gifted you and copy them.

Step 6
Paste those bad boys into that Local Adjustment Presets folder.
Step 7
Restart Lightroom.
Step 8
Go ahead and click on any Filter or Brush to add one to your image.
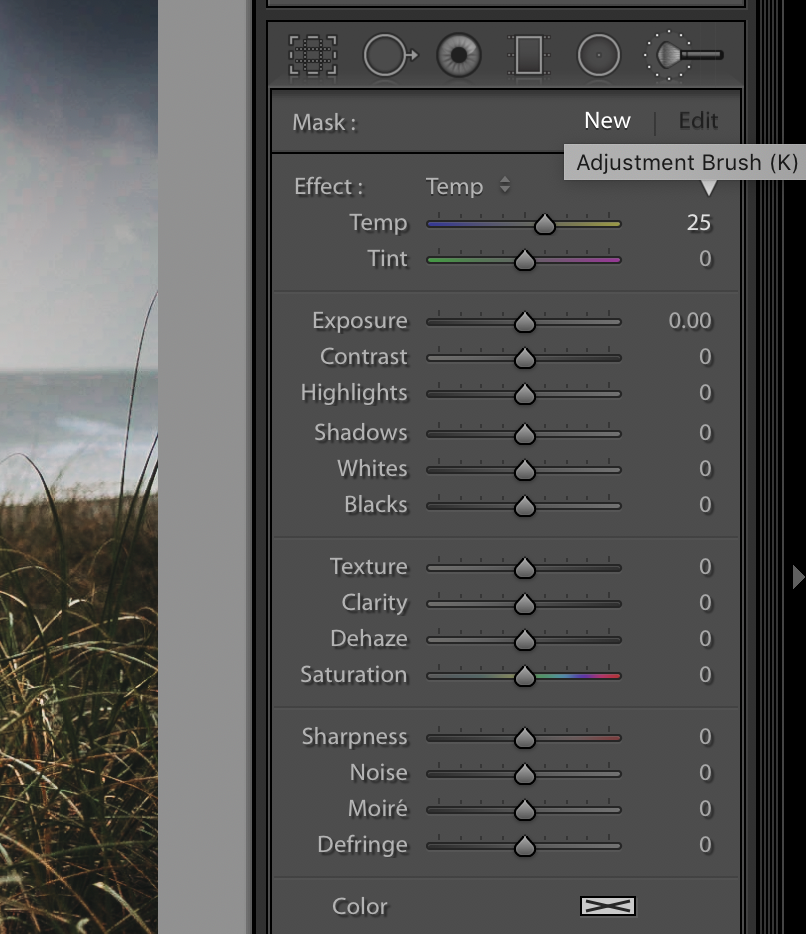
Step 9
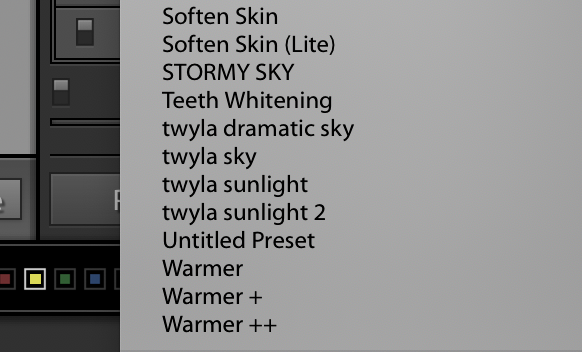
Click on the dropdown beside the word ‘Effect’ and choose one of your new brush presets to apply the settings!
If you would like to see me use these brushes in action, you can watch me edit with them here!
Love this blog post? Pin it to your fav board now!


")

")
")
")
Follow along for more emotive family shoots, authentic connections and beautiful stories.
#emotionalstorytelling
comments +